ARC Raiders Solo Frigate Guide: Best Loadout and Combat Strategies
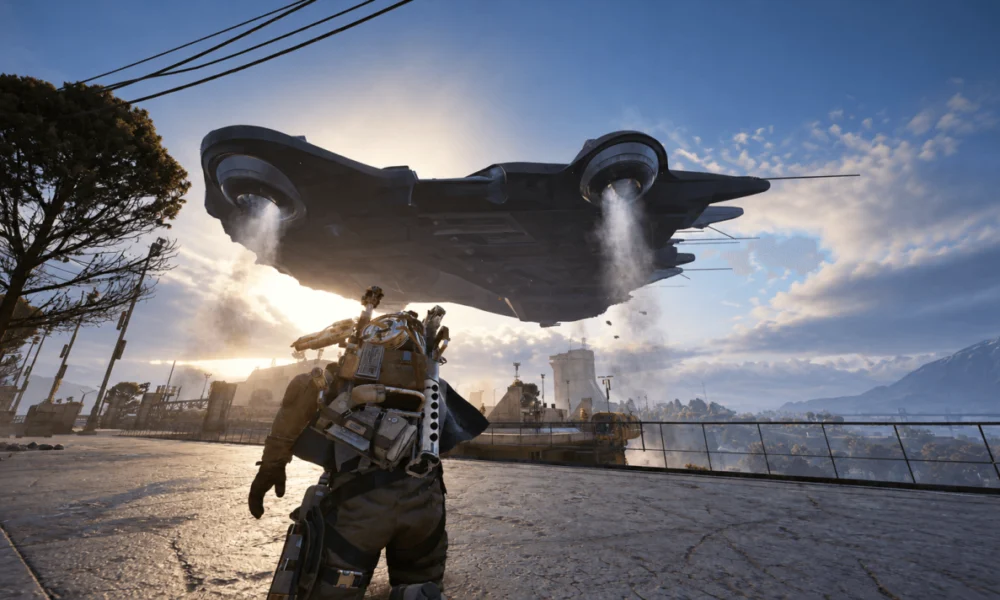
Taking on the airborne ARC Frigate solo in ARC Raiders requires a carefully selected loadout and a clear plan for each stage of the raid. Narrow corridors, aerial patrols, and reactor defenses make target selection and positioning especially important when you have no teammates to provide support. The Anvil hand cannon and Equalizer energy rifle offer complementary combat options, while defensive equipment and distraction tools help you handle threats without exhausting your supplies too early.
Best Loadout for a Solo ARC Frigate Run
The Anvil is suited to precision shots against exposed components, camera optics, and lighter mechanical targets. The Equalizer provides sustained damage against heavily armored defenses, making it a useful option when a target requires continuous fire.
| Equipment | Recommended Choice | Purpose |
|---|---|---|
| Precision weapon | Anvil hand cannon | Target exposed weak points and lighter defenses |
| Sustained-damage weapon | Equalizer energy rifle | Damage heavily armored targets |
| Shield protection | Heavy-duty shield rig | Absorb incoming attacks |
| Shield recovery | Reserve shield rechargers | Restore shields between engagements |
| Healing | Herbal bandages | Recover health when needed |
| Stamina support | Adrenaline boosters | Support movement during dangerous encounters |
| Distractions | Lure canisters and seeker projectiles | Divert enemy attention and create opportunities to move |
Keep your healing and shield supplies accessible so you can recover between fights without wasting time reorganizing your inventory. Lure canisters and seeker projectiles are particularly useful when you need to draw enemies away from a doorway or interactive console.
Board the Frigate and Clear the Lower Deck
Time your launch from the surface jump pads to land on the lower access ramps. After boarding, move into the interior corridors to break line of sight with exterior patrols and take advantage of the ship’s structural cover.
Advance through the lower deck one corridor at a time. Check junctions and doorways before entering open chambers, using the Anvil to target exposed optics and stationary defenses from a safer position. Deal with enemies controlling your route before moving forward, rather than sprinting into an area where several units can attack simultaneously.
Controlled movement also helps preserve stamina for emergencies. Keep track of nearby cover and the route behind you, especially in narrow corridors where turning around under fire can be difficult.
Defeat Reactor Defenses and Exposed Cooling Coils
The central reactor section becomes dangerous when you interact with terminals or expose energy components. Before activating a primary terminal, inspect the room, eliminate nearby ground units, and identify the entrances enemies could use to approach. Deploy a lure when it can divert attention away from your position and give you time to complete the interaction.
When the reactor cooling coils descend and become exposed, switch to the Equalizer and concentrate fire on the vulnerable thermal vents. Focusing damage on the objective helps you avoid wasting ammunition across multiple targets. If defensive units begin closing in, retreat behind cover and deal with immediate threats before continuing.
A simple sequence keeps the encounter manageable:
- Clear nearby enemies and inspect the room.
- Identify cover and an escape route before interacting with the terminal.
- Focus the Equalizer on exposed cooling components.
- Reassess incoming threats before advancing to the next objective.
Navigate the Upper Maintenance Catacombs
The passages between the secondary energy cores and the main control room have limited cover and unpredictable laser hazards. Move carefully through unfamiliar sections, checking the path ahead before committing to an exposed crossing.
When aerial units converge, avoid fighting them in the open. Move toward structural cover or a narrow approach that limits the angles from which enemies can attack. Use the Anvil against exposed targets when precision is sufficient, and switch to the Equalizer when sustained damage is necessary.
Lure canisters and seeker projectiles can create an opportunity to relocate if a patrol blocks your route. Save shield rechargers for situations where incoming damage has meaningfully reduced your protection, rather than using supplies after every minor exchange.
Collect Frigate Rewards and Extract Safely
After the primary core stabilizes and the central vault opens, prioritize valuable technology, advanced weapon schematics, and ship inductors. Check your inventory before collecting everything in sight, and move critical components into secured pockets when the inventory system allows it.
Once you have collected the items you want, prepare for extraction. Remaining perimeter gunships may threaten your descent, so follow the available departure route and use emergency propulsion equipment when appropriate. Keep enough health and shield capacity to respond to threats along the way, and avoid lingering in exposed areas while managing your inventory.
Plan Resources for Future Frigate Runs
A reliable solo loadout depends on having the right balance of weapons, healing items, shield support, and distractions. Before each raid, consider which supplies you used most heavily during the previous attempt and adjust your preparation accordingly. ARC Raiders Coins can be part of your broader resource planning as you prepare for future runs and manage your in-game priorities.
If you want to expand your available resources, you can also consider cheap ARC Coins to support your in-game plans. Keep your preparation focused on the equipment and supplies that fit your chosen strategy, rather than carrying items you are unlikely to use.
Complete the Frigate Run with a Clear Plan
The Anvil and Equalizer provide complementary damage options, while shield protection, healing supplies, and distractions help you handle the Frigate’s defenses alone. Success depends on clearing the route ahead, focusing fire on priority targets, and completing each objective from a defensible position.
Move through the ship methodically, conserve supplies for demanding encounters, and keep extraction in mind as you collect rewards. A disciplined approach makes each stage easier to manage and helps you finish the raid with the equipment needed to return safely.